Image Hotspots
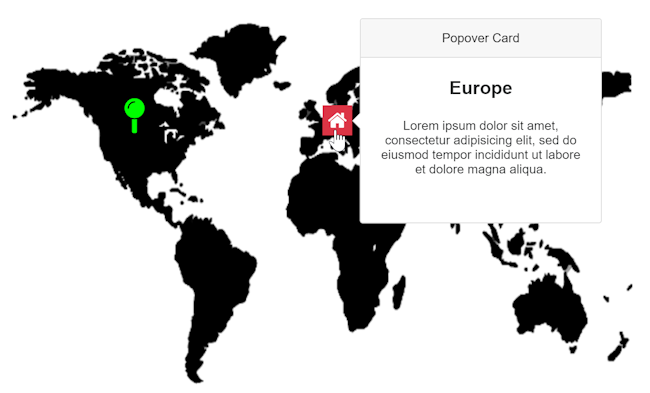
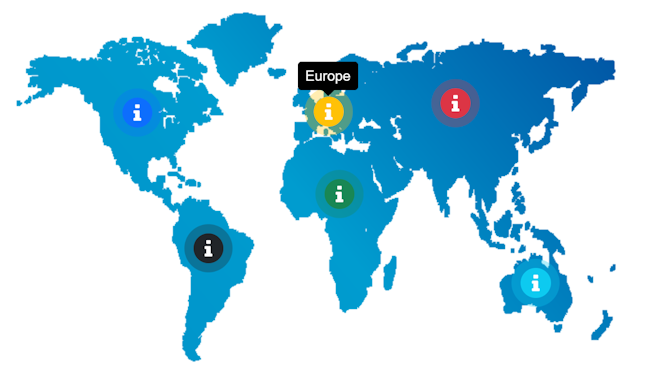
This object makes it possible to add linkable hotspots to the image. This may be useful for images such as a floor, campus map or world map that you want to contain links to different pages. It is also possible to show tool tips for hotspots.
You can define each clickable area (hotspot) on the image using four shape types:
• icon
• rectangle
• circle
• polygon (irregular shape).
New in version 9:
The 'Image Hotspots' object is now responsive. Hotspot coordinates will automatically be recalculated when the size of the image changes in a layout grid or breakpoints.
Adding Hotspots
There are 2 ways to add hotspots to an image:
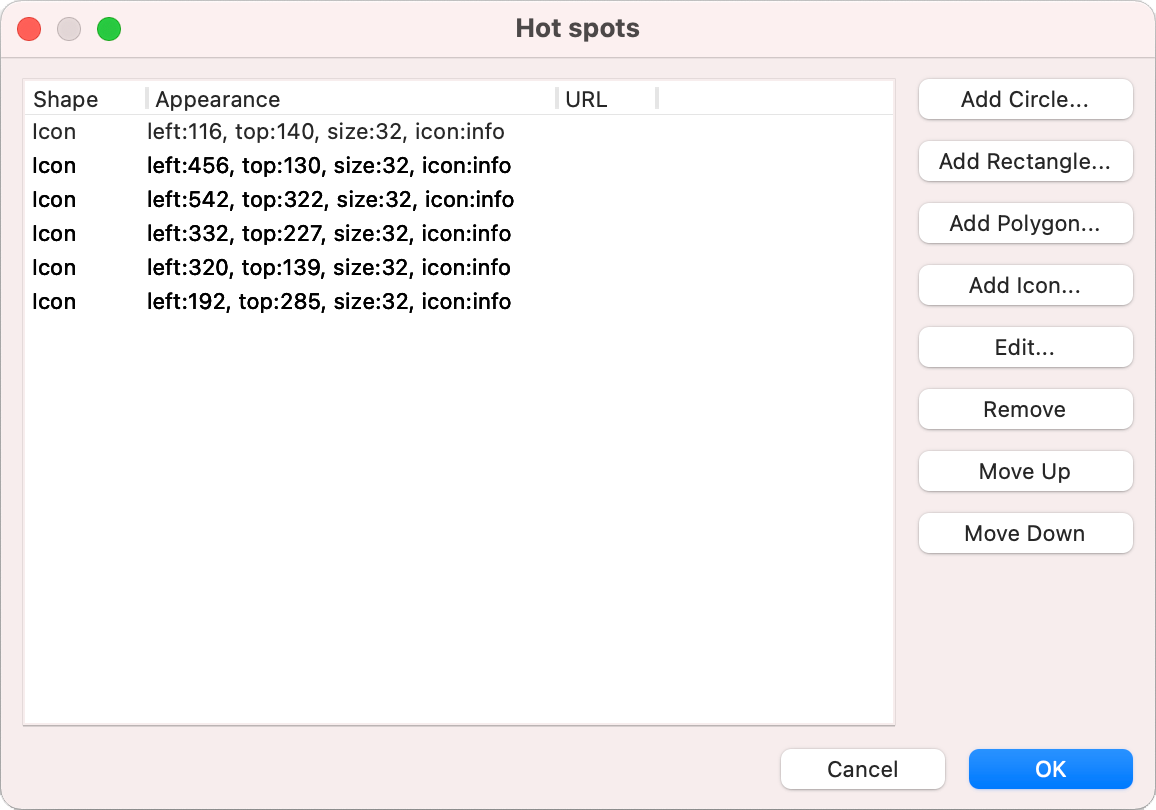
• Manually entering the coordinates in the hotspot tab of the image map properties
• Visually modifying the coordinates using the mouse
Note:
In the editor, the coordinates are in pixels based on the size of the image in the current view or breakpoint.
However, internally the coordinates will be stored in percentages to make the hotspots responsive. This means that if you resize the image then the coordinates will automatically be updated.
Manually entering the coordinates
Open the image hotspots properties and click the Hotspots tab to insert the coordinates of an hotspot.
You can insert 4 types of hotspots:
Icon
This makes it possible to use icons on the image. Each hotspot can have its own icon and color.
It also possible to add a pulsate animation to the icon to grab the attention of the visitor.
Circle
Here you enter the x and y coordinates of the center and the radius of the circle.
Rectangle
Here you enter the x (left) and y (top) coordinates and the width and height of the rectangle.
Polygon (Irregular Shape)
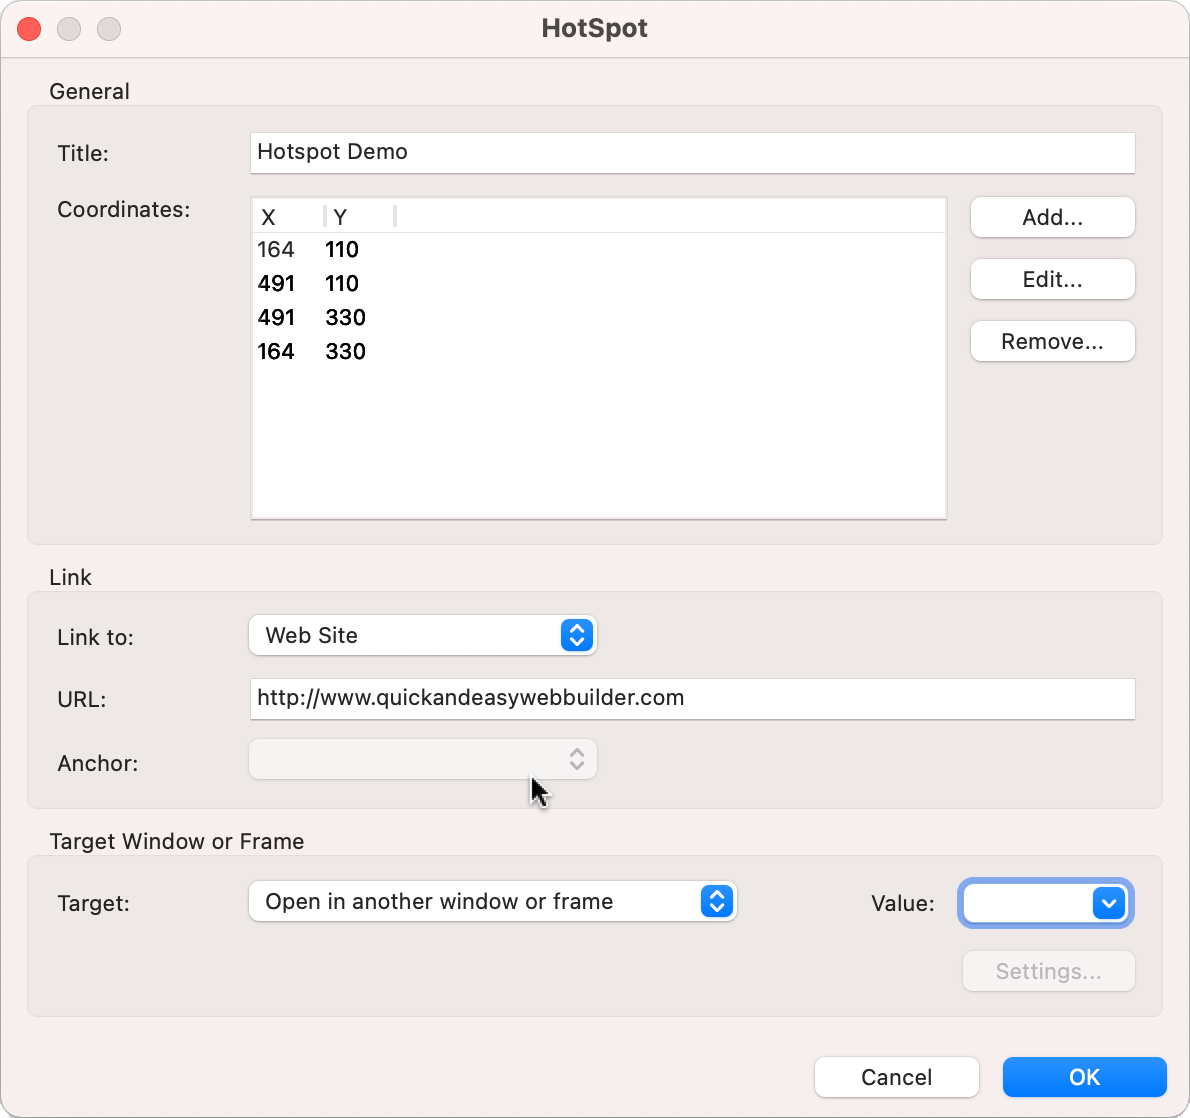
Here you enter each point (x, y coordinates) on the polygon.
Tip:
To clone a hotspot, hold the SHIFT key while clicking 'Edit' in the hotspot properties. This will create a copy of the selected hotspot.
Visually modifying the coordinates using the mouse
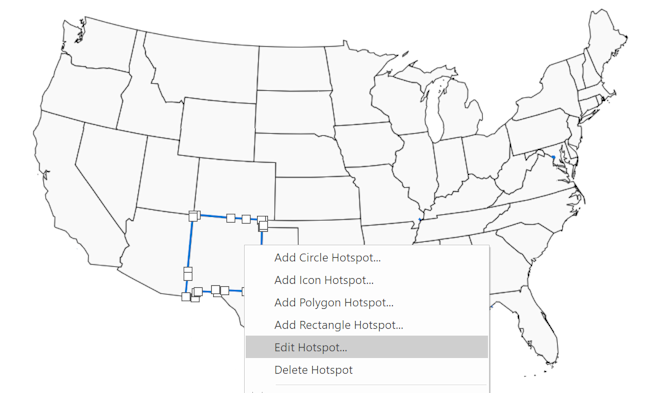
A more efficient way to modify the coordinates of the hotspots is by visually dragging them.
Right click the image map to display the context menu. Select the hotspot type you want to insert (Add Icon Hotspot, Add Circle Hotspot, Add Rectangle Hotspot or Add Polygon Hotspot). A window will popup where you can set the initial coordinates, the URL and alternate text of the area. By default, Web Builder will insert the shape in the center of the image map. After you have clicked OK, the shape will be inserted to the image map, you can now select it and drag it around or change it's size using the size handles. To edit or remove the hotspot, right click the area to display the context menu and select Edit Hotspot or Delete Hotspot.
ID
Hotspots have their own ID. This can be used (for example) to show a Popover Card or a Tooltip object.
The name of the hotspots is ImageHotspot1-hotspot-0, where 'ImageHotspot1' is the ID of the object and '0' the index of hotspot.
Hotspots have their own ID. This can be used (for example) to show a Popover Card or a Tooltip object.
The name of the hotspots is ImageHotspot1-hotspot-0, where 'ImageHotspot1' is the ID of the object and '0' the index of hotspot.
